First, I must apologize for my lack of postings lately, I don't have a good excuse, so I won't try and make one up. I've been playing this game NetHack and it has consumed a lot of my time, its really addictive. Anyway, I will attempt to set aside the game to post my creations and culinary adventures. I have kept documenting everything, I just haven't been posting.
As always, I have scorned the store bought when I can make a home made version, and in the fashion I do so often, I also avoided store bought ingredients, preferring to make them myself (sadly from store bought base ingredients). So this is actually two stories in one, the story of the French Bread and the story of the Crouton.
This story begins in a land far far away, in a time long forgotten, or rather my kitchen (3 meteres) and two weeks ago. I had made glorious loaves of French Bread, destined to be cubed and made into dry flavored bread known as Croutons.
In times gone by (when I was a child) I didn't like croutons, they were crunchy oddities amongst a bunch of readily chewy salad that was drenched in a salad dressing that I didn't care for to begin with. So as all good stories go, I didn't eat much salad or croutons throughout my teenage years, unless I had to... I was never a fan of adding 50 billion different items to a salad to make it appetizing and then drenching it with salad dressing, I liked simple salads, maybe some iceberg lettuce and some salad dressing; that was it!
About a year ago, I discovered that spinach goes great in a salad, a little bit of iceberg lettuce to give it some diversity and the barest amount of salad dressing I could get away with, and some croutons for some reason. Unlike the soggy ultra-colourful salads of my youth that I didn't much care for, I had a salad that I really enjoyed. The croutons brought new flavour packed cubes that could change the flavour from homogeneous to heterogeneous. Meaning that the salad never got boring, it kept changing between two delicious flavours, ensuring that each time I alternated it was like tasting it for the first time again. I was in salad heaven! I started making lunches out of salads, for awhile people thought I was a vegetarian because I was bringing so many salads for lunch... It wasn't until then that I realized I hadn't disliked the humble crouton, but rather the soggy diverse salads it had been put into.
All of this brings me to the present, when I went to make a salad and I reached into the cupboard where I store the croutons, only to find I had run out and hadn't bothered to tell myself to buy more. I was disheartened, the salad would be able to stand on its own with or without the croutons, but it wouldn't hold the same attraction to me that it had earlier. It was shortly after this that I realized, I was paying money for dry flavoured bread cubes, something that can easily be made in my kitchen. This was a beloved ingredient in my salads that I could make, I would never run out as long as I had the time to make more! A new era had been born!
I started with a fresh loaf of French Bread, I ended up eating the ones I had made in a previous posting, so I made more and made the loaves with the knowledge I had gained about forming...
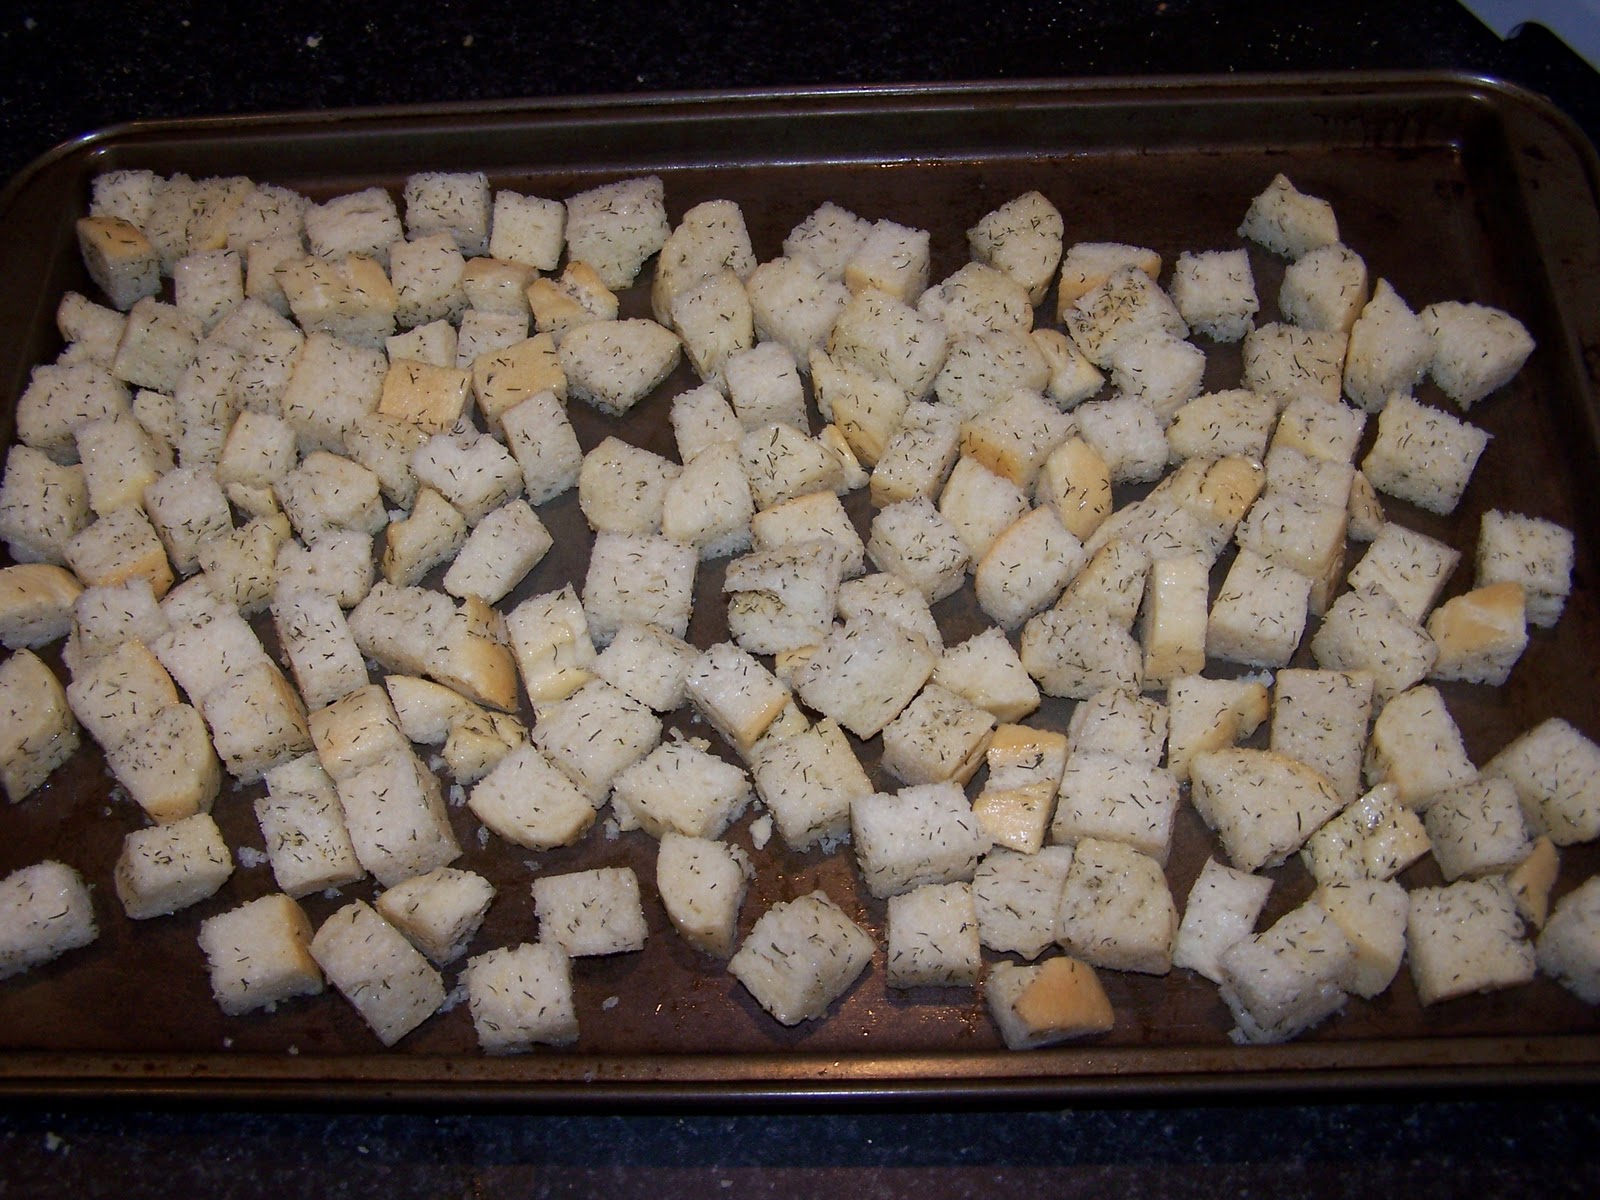
The loaf was cubed and put into a bowl that was much larger than it. This wasn't done to make it look insignificant or because I had misjudged how much a loaf would make, this was to make tossing it easier with the oil and seasonings that I would soon add.
I sprinkled garlic powder and dill over the bread cubes and then used a pump sprayer filled with Olive Oil as I tossed to evenly coat the cubes with oil. Not too much and not too little. Most importantly, the sprayer ensured that none would be drenched in an excess of oil.
Once the cubes were coated to what I considered just right, I spread them out onto a baking sheet and stuck it into an oven. I took it out every 5-10 minutes to toss everything so it would brown evenly.
The end result is delicious dry flavoured bread cubes that I can put into the salads that I love so much. I store them in an air tight ziplock bag in the freezer until I need to call upon there humble powers to elevate a salad to a new level of deliciousness. Also, since having made them, I have found they are a favorite snack of my roommates brother...
Sunday, October 31, 2010
Thursday, October 14, 2010
French Bread
I really, really like the taste of this bread, but only when its fresh from the oven. It loses quite a lot of flavour in mere hours after baking, or at least mine does. If timed just right, it comes out of the oven just as a meal starts and takes the whole meal to the next level. The very smell of it baking can help whet the appetite for the meal.
Aside from those obvious benefits, the left over bread as I mentioned is lacking in its original flavour. This makes it a prime candidate for being used as an ingredient in other dishes. Topping an Onion soup, or used as a base to a juicy cut of meat, bread crumbs, or as I am planning on doing with the left overs from this batch, turn it into Croutons.
I learned an interesting lesson when I was rolling the dough into a baguette. I rolled it out, but didn't like it so I folded it in half and rerolled it again. Again, I didn't like the shape, so I did this one more time, now it was in a shape I liked. However, when it baked, all the folding back on itself had not caused it to stick to itself, so I ended up with some pretty funky baguettes. They still came out tasting great, they just didn't look anything like a traditional baguette would.
I thoroughly mixed the dry ingredients together (Flour, yeast and salt). Once I add the water there won't be any further chances to nicely mix stuff into the dough.
I mixed the water into the dry mixture until it was all loosely held together in clumps. This part is really sticky, so I used a butter knife to do the mixing. I chose the knife above all other potential tools solely because the knife would be really easy to clean.
I turned out the clumpy, floury mixture onto a table and set about the task of kneading the dough. A note on the height of the table, if you are kneading, I find it is a lot easier (a lot) if the table is low enough that you can let gravity help you. The table I use is below my belt line, but above my groin. If the table is too high, you end up using your arm muscles, which unless your a body builder, is a hard work out. Your going to be here for about a 1/2 hour, so make it easy on yourself!
The dough is starting to come together after a few minutes of kneading. If you find the dough is wet and sticky, flour the table and work it into the dough, if it is too dry, you can add some water. However, a little water goes along way, most bread recipes recommend adding water by the teaspoon, I personally either wet my hands and then work it in, or spray with a spray bottle of water. This is a finer grained measurement than a teaspoon and as such allows you to adjust the moisture content very easily, without having to worry about over shooting.
The final dough is stretchy, and if you want, tastes great. What can I say, I really like bread.
I boiled a medium pot with some water in it, the exact amount of water is really of little concern. More water acts as a larger heat sink and will hold more heat to be dissipated later. This is a good thing.
It is a good thing, because it is going to be used to keep the dough warm while it is rising. As a byproduct, it will keep the oven at a high level of humidity. The high humidity means you don't knead (groan) to cover the dough while it is rising. You will be rewarded with a soft and fluffy dough. Keep in mind the oven is off, I'm just using the space to help raise the dough.
After an hour or when the dough has doubled in bulk, your going to beat on it, punch it and in general have fun with it. What? I enjoy punching down the dough. Try it, I think you'll agree.
As the mobsters from the Simpsons once said about roughing up Homer "This guys easy on the knuckles, I could work him over all day!". Well the dough is the same weigh (groan). You want to put it back into the oven until it has doubled in bulk again, also reboil the water. When the dough has doubled in bulk again (or an hour has passed) punch the dough down and form into baguettes.
As I mentioned above I formed then reformed each baguette, I let them sit on a lightly floured surface until they had doubled in bulk again, then I cut slices in the top. The slices serve a double purpose, they help prevent the surface from cracking as it cooks and it looks really nice on the final product.
The final product, distorted by the refolding of the baguette when I should have left it alone. If I hadn't refolded it, the slices I had made would have made it look really nice. Despite looking like it was the horribly disfigured progeny of a monster, the taste was just as I have always loved. I mostly ate one loaf, before I could take this picture.
The bulk of the cost of both of the loaves was from the flour, which only came to $0.89. Thats $0.46 per loaf or $0.03 per slice. That definitely knocks homemade bread weigh (grown) down from the cost of store bought bread. So if you don't make bread at home for the fresh taste, then you might as well do it to save a few bucks on your grocery bill.
Aside from those obvious benefits, the left over bread as I mentioned is lacking in its original flavour. This makes it a prime candidate for being used as an ingredient in other dishes. Topping an Onion soup, or used as a base to a juicy cut of meat, bread crumbs, or as I am planning on doing with the left overs from this batch, turn it into Croutons.
I learned an interesting lesson when I was rolling the dough into a baguette. I rolled it out, but didn't like it so I folded it in half and rerolled it again. Again, I didn't like the shape, so I did this one more time, now it was in a shape I liked. However, when it baked, all the folding back on itself had not caused it to stick to itself, so I ended up with some pretty funky baguettes. They still came out tasting great, they just didn't look anything like a traditional baguette would.
I thoroughly mixed the dry ingredients together (Flour, yeast and salt). Once I add the water there won't be any further chances to nicely mix stuff into the dough.
I mixed the water into the dry mixture until it was all loosely held together in clumps. This part is really sticky, so I used a butter knife to do the mixing. I chose the knife above all other potential tools solely because the knife would be really easy to clean.
I turned out the clumpy, floury mixture onto a table and set about the task of kneading the dough. A note on the height of the table, if you are kneading, I find it is a lot easier (a lot) if the table is low enough that you can let gravity help you. The table I use is below my belt line, but above my groin. If the table is too high, you end up using your arm muscles, which unless your a body builder, is a hard work out. Your going to be here for about a 1/2 hour, so make it easy on yourself!
The dough is starting to come together after a few minutes of kneading. If you find the dough is wet and sticky, flour the table and work it into the dough, if it is too dry, you can add some water. However, a little water goes along way, most bread recipes recommend adding water by the teaspoon, I personally either wet my hands and then work it in, or spray with a spray bottle of water. This is a finer grained measurement than a teaspoon and as such allows you to adjust the moisture content very easily, without having to worry about over shooting.
The final dough is stretchy, and if you want, tastes great. What can I say, I really like bread.
I boiled a medium pot with some water in it, the exact amount of water is really of little concern. More water acts as a larger heat sink and will hold more heat to be dissipated later. This is a good thing.
It is a good thing, because it is going to be used to keep the dough warm while it is rising. As a byproduct, it will keep the oven at a high level of humidity. The high humidity means you don't knead (groan) to cover the dough while it is rising. You will be rewarded with a soft and fluffy dough. Keep in mind the oven is off, I'm just using the space to help raise the dough.
After an hour or when the dough has doubled in bulk, your going to beat on it, punch it and in general have fun with it. What? I enjoy punching down the dough. Try it, I think you'll agree.
As the mobsters from the Simpsons once said about roughing up Homer "This guys easy on the knuckles, I could work him over all day!". Well the dough is the same weigh (groan). You want to put it back into the oven until it has doubled in bulk again, also reboil the water. When the dough has doubled in bulk again (or an hour has passed) punch the dough down and form into baguettes.
As I mentioned above I formed then reformed each baguette, I let them sit on a lightly floured surface until they had doubled in bulk again, then I cut slices in the top. The slices serve a double purpose, they help prevent the surface from cracking as it cooks and it looks really nice on the final product.
The final product, distorted by the refolding of the baguette when I should have left it alone. If I hadn't refolded it, the slices I had made would have made it look really nice. Despite looking like it was the horribly disfigured progeny of a monster, the taste was just as I have always loved. I mostly ate one loaf, before I could take this picture.
The bulk of the cost of both of the loaves was from the flour, which only came to $0.89. Thats $0.46 per loaf or $0.03 per slice. That definitely knocks homemade bread weigh (grown) down from the cost of store bought bread. So if you don't make bread at home for the fresh taste, then you might as well do it to save a few bucks on your grocery bill.
Wednesday, October 6, 2010
Rice Krispie Squares
I may have stretched the truth a little when I said I was making Rice Krispie Squares. Sure, all I did was add a few ingredients to the base recipe, but how many more ingredients does it take to make a new recipe in itself? I'll leave that question for the philosophers, in the mean time, I modeled this version off of an energy bar I recently bought from a vending machine; It was called "Grannys Power Bar" or something like that. As soon as I saw that, I knew I had to buy it, once I had tried it, I read the ingredients list. It was basically Rice Krispie squares filled with dried fruits, coconut and a whole plethora of other items.
It had become my mission now, to reproduce this bar, it consumed my life, or rather I went home and looked at all the dried fruits and seeds I had and made a big pile of them in anticipation of today.
I started by making my own Marshmallows ahead of time. Once they were finished, I tossed them in a pot with some butter.
While the marshmallows were melting into the butter, I was chopping and slicing my dried fruits like a mad man. I know what all but two of the ingredients are, so if someone out in the interwebs can identify them, I will be eternally grateful to them.Starting at the top and working clockwise: Unknown dried fruit, raisins, dates, cranberries, unknown seeds, dried pears and coconut in the middle.
Once the marshmallows and butter had melted together I mixed in some vanilla extract.
I mixed the seeds and fruits into the marshmallow/butter mixture and stirred vigorously to thoroughly mix the seeds and fruits so it would be closer to homogeneous.
I mixed in the Rice Krispies and folded them into the gooey mixture until everything was coated and it stuck to me, the pot, me, the spatula and me. It was messy! I learned my lesson and coated the back of a spatula with butter and I pressed it into the pan, this was probably the cleanest portion of the process. I set the pan out to cool so that I could cut it into smaller pieces.
Using my multi-purpose pizza cutter, I cut the cooled Krispies into bars. I judged by eye, so I ended up with some runt pieces which were quickly eaten.
I breaded the Krispies in Graham Cracker Crumbs. The natural stickiness was enough to hold on the coating.
All the bars are breaded and are waiting for the final stage, which truth be told, I had not thought about. I wanted to dip them into a yogurt based sauce that was solid at room temperature. But to be honest, I haven't a clue as to where to start. So I am am going to have to table that idea until some time in the future when I do this again.
I would like to say how much this cost, but I don't have all the costs for the marshmallows, and all the dried fruits and seeds are also of an unknown value. The best I could do is speculate based on the cost of the Rice Krispies and butter used. Though that number would be way off.
It had become my mission now, to reproduce this bar, it consumed my life, or rather I went home and looked at all the dried fruits and seeds I had and made a big pile of them in anticipation of today.
Using my multi-purpose pizza cutter, I cut the cooled Krispies into bars. I judged by eye, so I ended up with some runt pieces which were quickly eaten.
I breaded the Krispies in Graham Cracker Crumbs. The natural stickiness was enough to hold on the coating.
All the bars are breaded and are waiting for the final stage, which truth be told, I had not thought about. I wanted to dip them into a yogurt based sauce that was solid at room temperature. But to be honest, I haven't a clue as to where to start. So I am am going to have to table that idea until some time in the future when I do this again.
I would like to say how much this cost, but I don't have all the costs for the marshmallows, and all the dried fruits and seeds are also of an unknown value. The best I could do is speculate based on the cost of the Rice Krispies and butter used. Though that number would be way off.
Friday, October 1, 2010
Marshmallows - Follow up
I am finally able to post the pictures of the marshmallows and how they turned out. Aside from being squares and not cylanders, they turned out quite well.

I dusted the top so that it wouldn't stick to me as I worked with it.

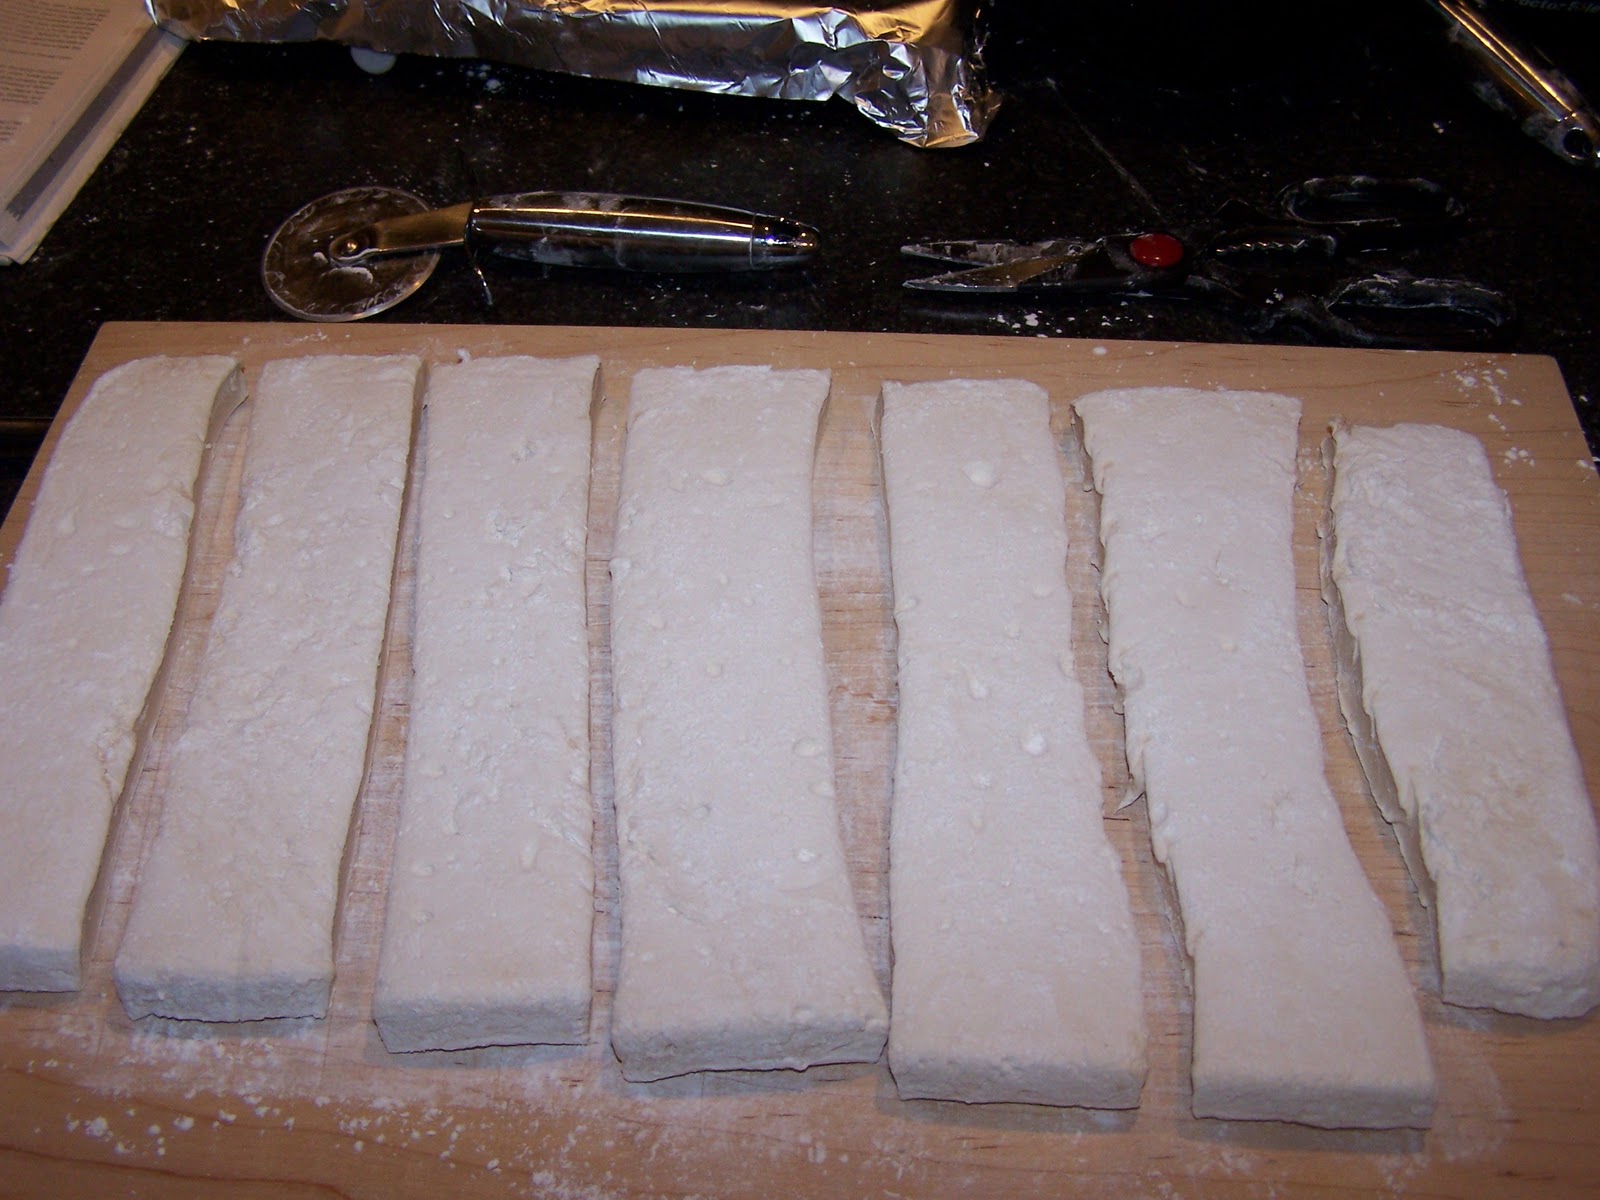
Well, I know I said I was going to use the kitchen shears dusted in the mixture, but it was creating a jagged edge, was slow, and despite the dusting was starting to gum up my shears. I went with my trusty multi-purpose pizza cutter and never looked back. It gave straight cuts with a minimum of effort.

I dusted the edges so that the marshmallows would not stick to anything (me, themselves and other marshmallows).
That is all there is to making marshmallows, I am looking forward to making some Rice Krispie squares out of them!
I dusted the top so that it wouldn't stick to me as I worked with it.
Well, I know I said I was going to use the kitchen shears dusted in the mixture, but it was creating a jagged edge, was slow, and despite the dusting was starting to gum up my shears. I went with my trusty multi-purpose pizza cutter and never looked back. It gave straight cuts with a minimum of effort.
I dusted the edges so that the marshmallows would not stick to anything (me, themselves and other marshmallows).
That is all there is to making marshmallows, I am looking forward to making some Rice Krispie squares out of them!
Thursday, September 30, 2010
Marshmallows
I must confess, if a recipe calls for an ingredient that I can make myself, I will go to great lengths to do it myself; I really enjoy making things from scratch. I made the Chicken Broth for the Chicken Korma, the ice cream for the Ice Cream Cake. Now I am making the marshmallows in anticipation of making Rice Krispie Squares.
The last time I made Marshmallows, I kept forgetting to bring them along when I went to back yard bon fires. The whole reason I had made them, was to roast over a fire so that I could compare them to the Jet Puffed ones you get in the stores.
Anyway, the Marshmallows won't actually be finished until tomorrow at the earliest, and I will be busy at least until Sunday. So I will see about posting the finished Marshmallow this weekend, and hopefully get the Rice Krispie squares done as well.
I started by lightly oiling, then dusting a 9x13 cake pan with a dust mixture that was one part cornstarch and one part confectionery sugar. The final marshmallow is very sticky, or what I'm saying is this is a very important step if you want the marshmallows to be easy to work with.
I let the gelatin bloom in a 1/2 cup of water for a few minutes, before putting the bowl over simmering water and making it all dissolve together.
I mixed all the sugars and water together. I misjudged how much corn syrup I had and ended up using honey for the bulk of what was needed. The too are very similar and in most recipes they are interchangeable, however, in this case, it is a main ingredient, not a sweetener (ok, well its both). So its flavour may change the final product. I am waiting for the final product to see how it was changed.
I stirred the ingredients together and then brushed down the sides of the pot. In candy making, if sugar crystals form on the side of the pot and they are not washed away, they may act as a seed and cause everything to crystalize, ruining the candy. Of course, the solution is to just reheat it and do it over again. But that takes effort that could be easily avoided. I also stuck the candy thermometer in at this point.
The mixture at 215 degrees Fahrenheit.
And again at 225 degrees Fahrenheit.
The firm ball stage (one of many stages sugar goes through while cooking) is between 244 and 246 Fahrenheit, however, it can shift up depending on the local environment. Humidity plays a big role here. It is always a good idea to do a cold water test as well as use a thermometer. In my case, I actually had to go to almost 250 before I was in the firm ball stage. At this point I quickly took it off the element and set the bottom of the pan in cool water to stop the cooking process before it moved into another stage.

I started beating the gelatin and slowly added the sugar mixture in a slow and steady stream. There is no picture because I only have two hand and no tripod. However, this is a picture taken immediately after I finished adding the mixture. The colour is a combination of the cane sugar I used (I prefer the taste of cane vs refined white) and the cooking of the sugars (more so the cooking than the ingredients).
However, as more air is added to the marshmallow mixture, the whiter it becomes. As it cools, the gelatin sets, this causes the whole thing to become harder to beat and it also becomes notoriously sticky and hard to work with. I added two table spoons of Vanilla at this point and mixed it until blended together.
All of the mixture is then poured into the 9x13 cake pan.

With a little coaxing, it sits level across the entire pan
When the mixture is cooled, I will dust the top with more of the cornstarch/sugar mixture and cover it with foil. It will then be left until tomorrow morning, when I will cut it into squares using kitchen shears dusted with the same cornstarch/sugar mixture. As I mentioned above, I'll post pictures as soon as I can.
The last time I made Marshmallows, I kept forgetting to bring them along when I went to back yard bon fires. The whole reason I had made them, was to roast over a fire so that I could compare them to the Jet Puffed ones you get in the stores.
Anyway, the Marshmallows won't actually be finished until tomorrow at the earliest, and I will be busy at least until Sunday. So I will see about posting the finished Marshmallow this weekend, and hopefully get the Rice Krispie squares done as well.
I started beating the gelatin and slowly added the sugar mixture in a slow and steady stream. There is no picture because I only have two hand and no tripod. However, this is a picture taken immediately after I finished adding the mixture. The colour is a combination of the cane sugar I used (I prefer the taste of cane vs refined white) and the cooking of the sugars (more so the cooking than the ingredients).
With a little coaxing, it sits level across the entire pan
When the mixture is cooled, I will dust the top with more of the cornstarch/sugar mixture and cover it with foil. It will then be left until tomorrow morning, when I will cut it into squares using kitchen shears dusted with the same cornstarch/sugar mixture. As I mentioned above, I'll post pictures as soon as I can.
Thursday, September 23, 2010
Apple Juice
I've been really busy this last little while, so I apologize for not posting anything...at all.
However, during my absence I was able to process the apples from four different local trees, mostly into juice, but I have some left over for pies and other apple based dishes. I made a total of 8 liters of juice, and I was able to get an unmeasurable amount of apple pulp, which is similar to apple sauce, but not as juicy, though certainly as flavorful.
Alas, I poorly documented this one, so all I have to show for it this time is the canned jars I made.
I labeled each with the date and last name of the person whos tree the apples came from.
The first, second and fourth jars all had very similar apples that I couldn't identify. All of which produced a distinctively different color. The deep red one came from my parents crab apple tree, and arguably tastes the best. But I was raised on it, so I may be biased!
They are fully canned, meaning they are sealed and preserved, meaning they will keep a long time. However, conventional wisdom is to use it up before the first year is over, just to be sure. I store them with only the lids as a precaution, if one of the jars wasn't sealed properly or sanitized, or for whatever reason spoils, it will pop the lid off before the jar explodes. If I left the rim on it and it spoiled, I might have a big mess to clean up!
However, during my absence I was able to process the apples from four different local trees, mostly into juice, but I have some left over for pies and other apple based dishes. I made a total of 8 liters of juice, and I was able to get an unmeasurable amount of apple pulp, which is similar to apple sauce, but not as juicy, though certainly as flavorful.
Alas, I poorly documented this one, so all I have to show for it this time is the canned jars I made.
The first, second and fourth jars all had very similar apples that I couldn't identify. All of which produced a distinctively different color. The deep red one came from my parents crab apple tree, and arguably tastes the best. But I was raised on it, so I may be biased!
They are fully canned, meaning they are sealed and preserved, meaning they will keep a long time. However, conventional wisdom is to use it up before the first year is over, just to be sure. I store them with only the lids as a precaution, if one of the jars wasn't sealed properly or sanitized, or for whatever reason spoils, it will pop the lid off before the jar explodes. If I left the rim on it and it spoiled, I might have a big mess to clean up!
Friday, September 10, 2010
Frittata
A very good friend of mine introduced me to this type of omlette. Despite my best efforts, he still makes it much better than I. The cast iron skillet really shines here for a number of reasons. The first is that it can go from stove top to broiler without any problems. Second, the extra mass of the cast iron retains much of the cooking heat from the stove top and helps to continue cooking the Frittata while it is cooking under the broiler.
This is an excellent breakfast dish, it can be prepared fairly quickly, but most importantly it is a great way to start the day. It is also a great communal meal, if you have a large enough skillet, you can make a bigger one that will feed multiple people. I look forward to this on weekends, when I can sit and share a breakfast with some close friends.
Beat the eggs and milk together. I find 1/8 cup of milk per egg is a good ratio. It was originally recommended by Alton Brown on his show Good Eats. Since then, I have experimented with the ratio and have come to the same conclusion. The ratio holds for omlettes, french toast and other egg/milk only mixtures. I have found that two eggs is almost too much for one person, so feel free to change it up to the number you prefer.
Into the egg/milk mixture goes whatever you want. I'm partial to bell peppers and onions, but mushrooms, broccolli and many other vegetables can find there way into a Frittata. Place the mixture into the preheated cast iron skillet.
Once the Frittata has had some time to cook but the center is still liquid, remove it from the stove top and put it under the broiler until the egg mixture has firmed up and is just cooked.
Sprinkle the cheese on top, for looks, you can also optionally sprinkle it with Paprika. This will give it a really nice colour when it is finished.
Place the skillet back under the broiler until the cheese "breathes". Breathing cheese is a term I use for when the cheese is starting to brown and it is bubbling all over. The cheese will bubble up and then settle down before bubbling up again; hence "breathing.
Frittata
1 Serving
Preheat a skillet over medium heat, preheat a broiler.
Thoroughly mix in a bowl:
2 eggs
1/4 cup milk
Add:
1/2 cup of assorted vegetables
Add the mixture to the preheated skillet. Let it cook until the outsides are becoming firm. Move the skillet to the preheated broiler, continue cooking until the entirety of the Frittata is firm. Sprinkle on top:
Up to 1/3 cup mozzarella cheese
Place back under the broiler until the cheese is browned. Remove from the heat and serve.
The cost of this meal is $2.00 per Frittata, the toast and yogurt are extra, but if you include them, the price rises to $2.56.
This is an excellent breakfast dish, it can be prepared fairly quickly, but most importantly it is a great way to start the day. It is also a great communal meal, if you have a large enough skillet, you can make a bigger one that will feed multiple people. I look forward to this on weekends, when I can sit and share a breakfast with some close friends.
Beat the eggs and milk together. I find 1/8 cup of milk per egg is a good ratio. It was originally recommended by Alton Brown on his show Good Eats. Since then, I have experimented with the ratio and have come to the same conclusion. The ratio holds for omlettes, french toast and other egg/milk only mixtures. I have found that two eggs is almost too much for one person, so feel free to change it up to the number you prefer.
Frittata
1 Serving
Preheat a skillet over medium heat, preheat a broiler.
Thoroughly mix in a bowl:
2 eggs
1/4 cup milk
Add:
1/2 cup of assorted vegetables
Add the mixture to the preheated skillet. Let it cook until the outsides are becoming firm. Move the skillet to the preheated broiler, continue cooking until the entirety of the Frittata is firm. Sprinkle on top:
Up to 1/3 cup mozzarella cheese
Place back under the broiler until the cheese is browned. Remove from the heat and serve.
The cost of this meal is $2.00 per Frittata, the toast and yogurt are extra, but if you include them, the price rises to $2.56.
Subscribe to:
Posts (Atom)