Showing posts with label Dessert. Show all posts

Friday, October 1, 2010

Marshmallows - Follow up

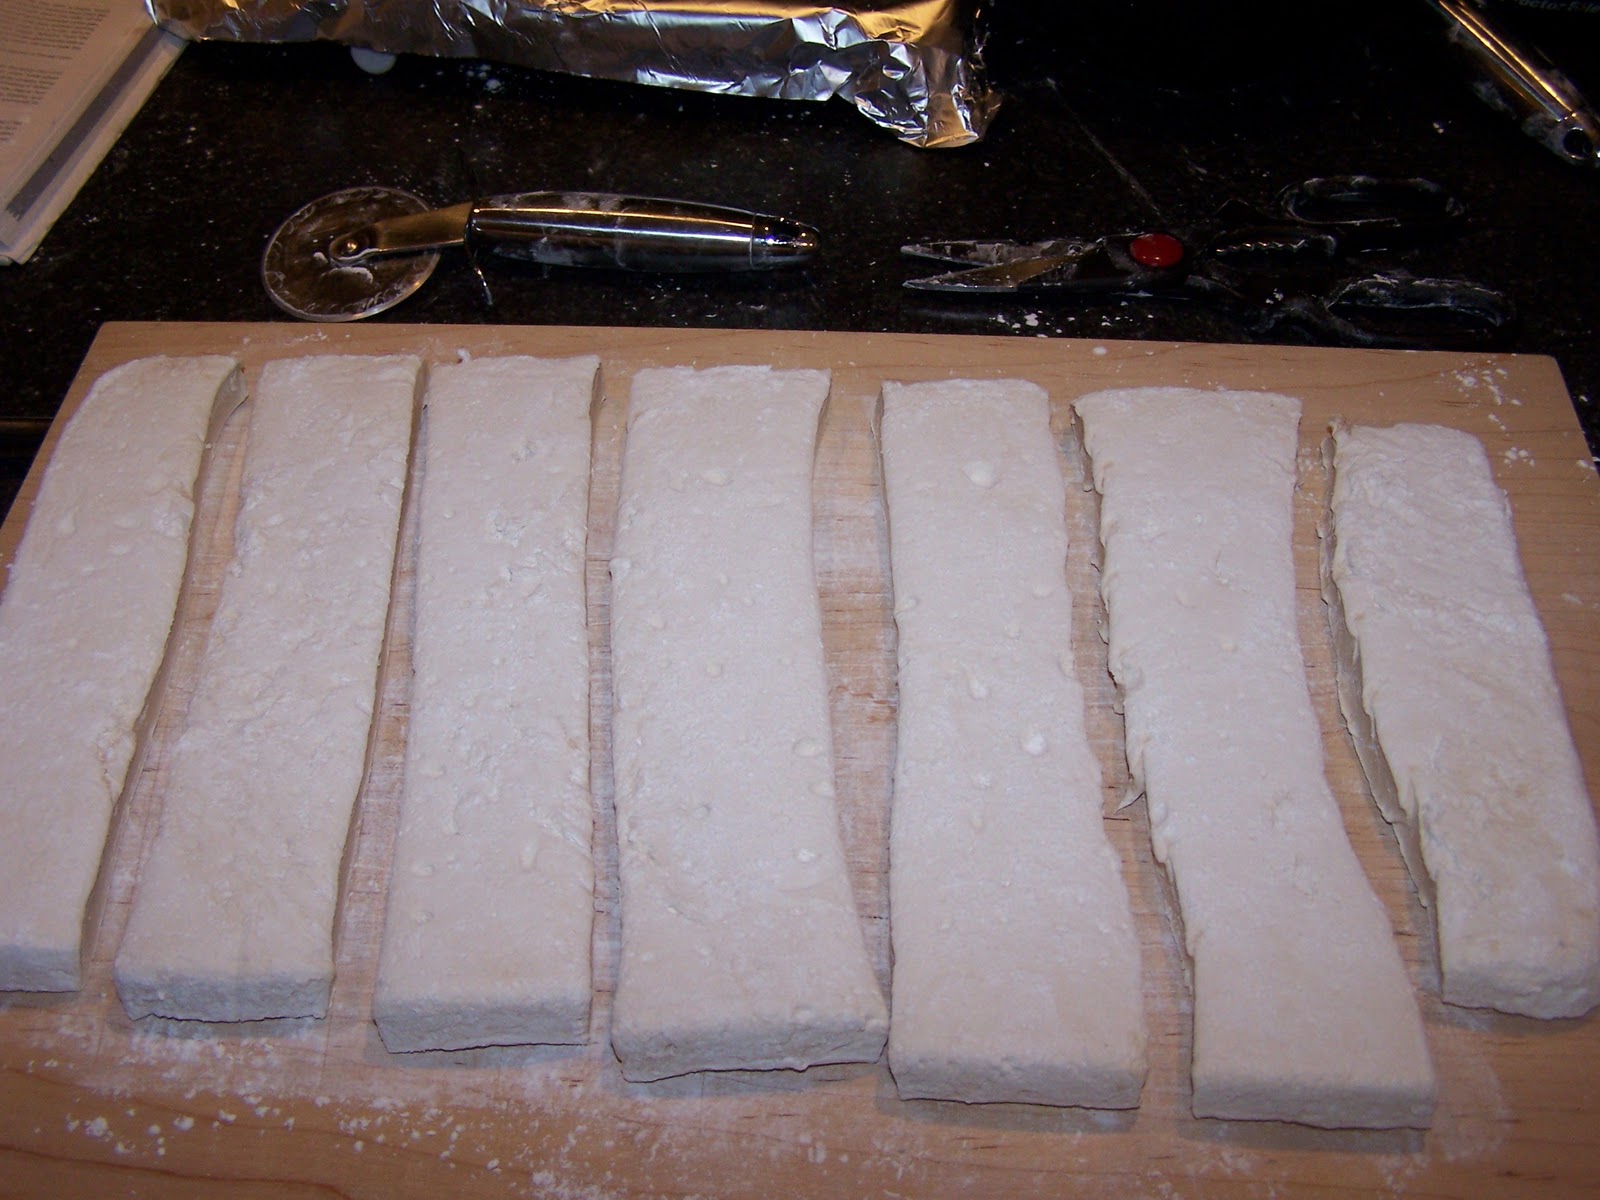
I am finally able to post the pictures of the marshmallows and how they turned out. Aside from being squares and not cylanders, they turned out quite well.


I dusted the top so that it wouldn't stick to me as I worked with it.


Well, I know I said I was going to use the kitchen shears dusted in the mixture, but it was creating a jagged edge, was slow, and despite the dusting was starting to gum up my shears. I went with my trusty multi-purpose pizza cutter and never looked back. It gave straight cuts with a minimum of effort.


I dusted the edges so that the marshmallows would not stick to anything (me, themselves and other marshmallows).


That is all there is to making marshmallows, I am looking forward to making some Rice Krispie squares out of them!

Thursday, September 30, 2010

Marshmallows

I must confess, if a recipe calls for an ingredient that I can make myself, I will go to great lengths to do it myself; I really enjoy making things from scratch. I made the Chicken Broth for the Chicken Korma, the ice cream for the Ice Cream Cake. Now I am making the marshmallows in anticipation of making Rice Krispie Squares.

The last time I made Marshmallows, I kept forgetting to bring them along when I went to back yard bon fires. The whole reason I had made them, was to roast over a fire so that I could compare them to the Jet Puffed ones you get in the stores.

Anyway, the Marshmallows won't actually be finished until tomorrow at the earliest, and I will be busy at least until Sunday. So I will see about posting the finished Marshmallow this weekend, and hopefully get the Rice Krispie squares done as well.

I started by lightly oiling, then dusting a 9x13 cake pan with a dust mixture that was one part cornstarch and one part  confectionery sugar. The final marshmallow is very sticky, or what I'm saying is this is a very important step if you want the marshmallows to be easy to work with.


I let the gelatin bloom in a 1/2 cup of water for a few minutes, before putting the bowl over simmering water and making it all dissolve together.


I mixed all the sugars and water together. I misjudged how much corn syrup I had and ended up using honey for the bulk of what was needed. The too are very similar and in most recipes they are interchangeable, however, in this case, it is a main ingredient, not a sweetener (ok, well its both). So its flavour may change the final product. I am waiting for the final product to see how it was changed.

I stirred the ingredients together and then brushed down the sides of the pot. In candy making, if sugar crystals form on the side of the pot and they are not washed away, they may act as a seed and cause everything to crystalize, ruining the candy. Of course, the solution is to just reheat it and do it over again. But that takes effort that could be easily avoided. I also stuck the candy thermometer in at this point.


The mixture at 215 degrees Fahrenheit.


And again at 225 degrees Fahrenheit.


The firm ball stage (one of many stages sugar goes through while cooking) is between 244 and 246 Fahrenheit, however, it can shift up depending on the local environment. Humidity plays a big role here. It is always a good idea to do a cold water test as well as use a thermometer. In my case, I actually had to go to almost 250 before I was in the firm ball stage. At this point I quickly took it off the element and set the bottom of the pan in cool water to stop the cooking process before it moved into another stage.


I started beating the gelatin and slowly added the sugar mixture in a slow and steady stream. There is no picture because I only have two hand and no tripod. However, this is a picture taken immediately after I finished adding the mixture. The colour is a combination of the cane sugar I used (I prefer the taste of cane vs refined white) and the cooking of the sugars (more so the cooking than the ingredients).


However, as more air is added to the marshmallow mixture, the whiter it becomes. As it cools, the gelatin sets, this causes the whole thing to become harder to beat and it also becomes notoriously sticky and hard to work with. I added two table spoons of Vanilla at this point and mixed it until blended together.


All of the mixture is then poured into the 9x13 cake pan.


With a little coaxing, it sits level across the entire pan


When the mixture is cooled, I will dust the top with more of the cornstarch/sugar mixture and cover it with foil. It will then be left until tomorrow morning, when I will cut it into squares using kitchen shears dusted with the same cornstarch/sugar mixture. As I mentioned above, I'll post pictures as soon as I can.

Thursday, September 2, 2010

Ice Cream Cake

There is something about an ice cream cake that makes me think of birthdays. Maybe its because almost everyone I know celebrates with one, but maybe its just me. Either way, this isn't the first request I've had for an ice cream cake, and I doubt it will be the last.

My sister requested an Ice cream cake for her birthday, she said it had to have a crumb crust, vanilla ice cream and a berry filling. It sounded easy enough, except that I had never done a berry filling in a frozen cake before. I was afraid that I would end up with a solid block of frozen berries that would be hard to eat. I did some experimentation to overcome this, I knew berries by themselves would be as hard as a brick, I also assumed if I used alcohol it would loosen it up at freezing temperatures. I however wasn't sure if sugar would work, so I tossed a half jar of Strawberry Jam into the freezer over night and tested it in the morning. As I hoped, it was thickened, but not solid, perfect for my needs. This meant there was nothing else to do but make the cake itself.

This being a frozen cake, it meant that it took a couple of days too make. Most of the time being spent in the freezer, the actual effort was quite small

The crumb crust is a fairly simple recipe in its own right, consisting mostly of Graham Crumbs held together with butter. Sugar was added to sweeten and Cinnamon to flavour it.


I mixed the ingredients into a coarse mixture.


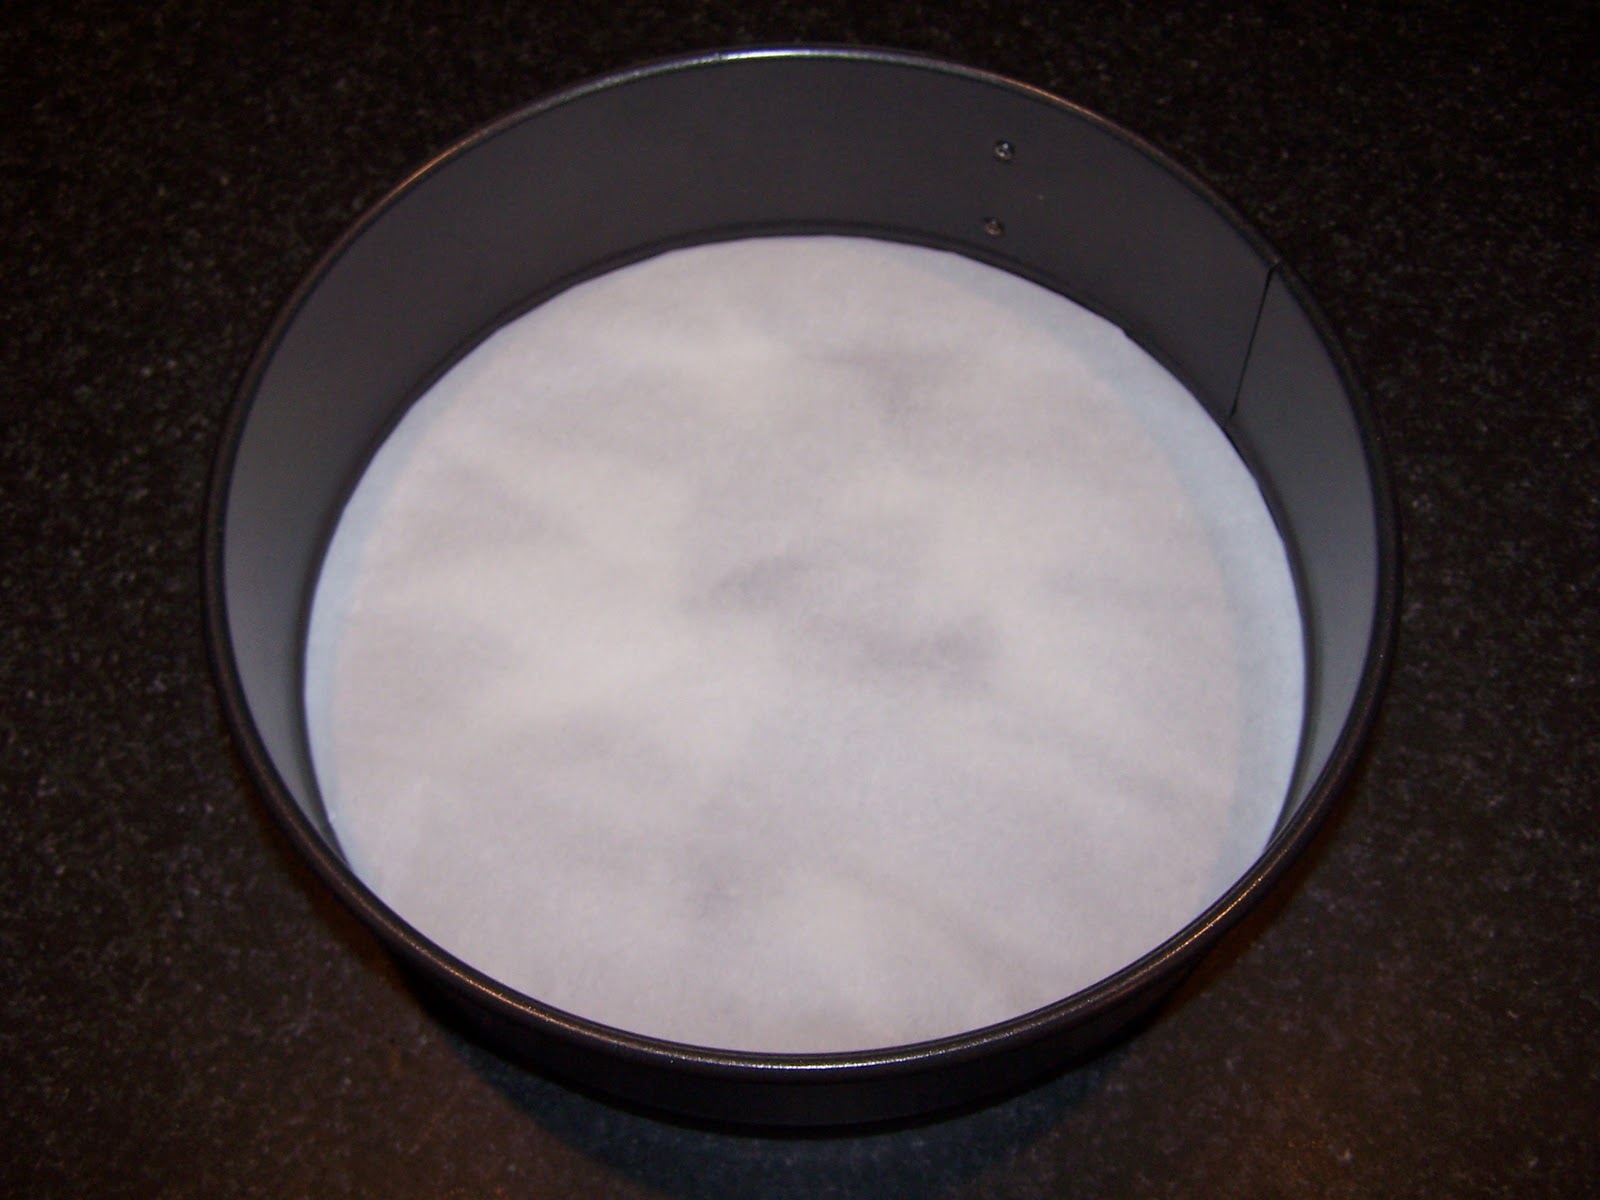
In the past I have found crumb crusts stick very easily to the bottom of my pan. Some people like to grease their pans or dust with a powder (usually powdered sugar or flour) before cooking. Since this is a desert that is high in oils, I opted instead to just put a parchment paper layer down in the bottom of my spring form pan.


I packed the crust down using a spatula to that it would be of even thickness and consistency.


I baked it for 20 minutes, let it cool and then froze it. It is an important step, because you don't want to melt the ice cream when you add it.


I added the Strawberry Jam layer next and smoothed it out so that it would be a consistent thickness. The whole thing went back into the freezer.


I mixed some cream and sugar and brought it just to a simmer before removing from the heat.


Once it came to a simmer, I removed it to a bowl and added some more cream, milk and some Vanilla extract. I had been planning on using a Vanilla Bean instead, but I was apparently out. The resulting mixture was chilled in the refrigerator over night.


I removed the mixture the next day and started it churning in my Ice Cream maker. I ended up with a particularly good consistency this time. I usually have to chill it further once it is done churning to get a scoopable mixture. However, this was ideal for the cake as it was.


I smoothed out the ice cream using a rubber spatula. There was not going to be any icing to make it look pretty, so I quickly leveled it by scraping to the center; this gave it the pleasing spiral look. I had to work fast so that the ice cream wouldn't melt. Once I was done it went straight back into the freezer until I was ready to serve it.


Crumb Crust
One 9- or 10-inch single piecrust and topping
Put in a bowl, reserving a tablespoon or two for topping, if desired:
1 1/2 cups fine graham cracker, vanilla or chocolate wafer, or gingersnap crumbs
Add and stir until well blended:
1/4 to 1/2 cup sugar, depending on sweetness of cookies
6 tablespoons (3/4 stick) unsalted butter, melted and cooled

(1 teaspoon ground cinnamon)
Bake for 10-12 minutes at 350 for a baked crust

Strawberry Jam
1 cup jam

Vanilla Ice Cream
1 quart
Combine in a medium saucepan
1 Cup heavy cream
3/4 cup sugar
1/8 teaspoon salt
Split lengthwise in half:
(1 vanilla bean)
 Scrape the seeds into the cream mixture, then add the bean. Bring to a simmer over medium-low heat, stirring to dissolve the sugar. Pour into a bowl and stir in:
2 Cups heavy cream
1 cup whole milk
1 1/2 to 2 teaspoons vanilla (if not using vanilla bean)
Refrigerate until cold, overnight if possible. Remove the vanilla bean, if used, pour the mixture into an ice cream maker and freeze as directed.

In addition to the cost analysis that I usually do, I also did a nutritional analysis using Wolfram Alpha. I summed the bulk of the ingredients and divided by eight servings. It then generated this nutrition label and other useful information. I was surprised at the results, but considering the ingredients, I am inclined to believe the numbers.

The total cost of the cake was $4.48, I worked it out to a total of eight serving at $0.56 per piece of cake.