Thursday, September 30, 2010

Marshmallows

I must confess, if a recipe calls for an ingredient that I can make myself, I will go to great lengths to do it myself; I really enjoy making things from scratch. I made the Chicken Broth for the Chicken Korma, the ice cream for the Ice Cream Cake. Now I am making the marshmallows in anticipation of making Rice Krispie Squares.

The last time I made Marshmallows, I kept forgetting to bring them along when I went to back yard bon fires. The whole reason I had made them, was to roast over a fire so that I could compare them to the Jet Puffed ones you get in the stores.

Anyway, the Marshmallows won't actually be finished until tomorrow at the earliest, and I will be busy at least until Sunday. So I will see about posting the finished Marshmallow this weekend, and hopefully get the Rice Krispie squares done as well.

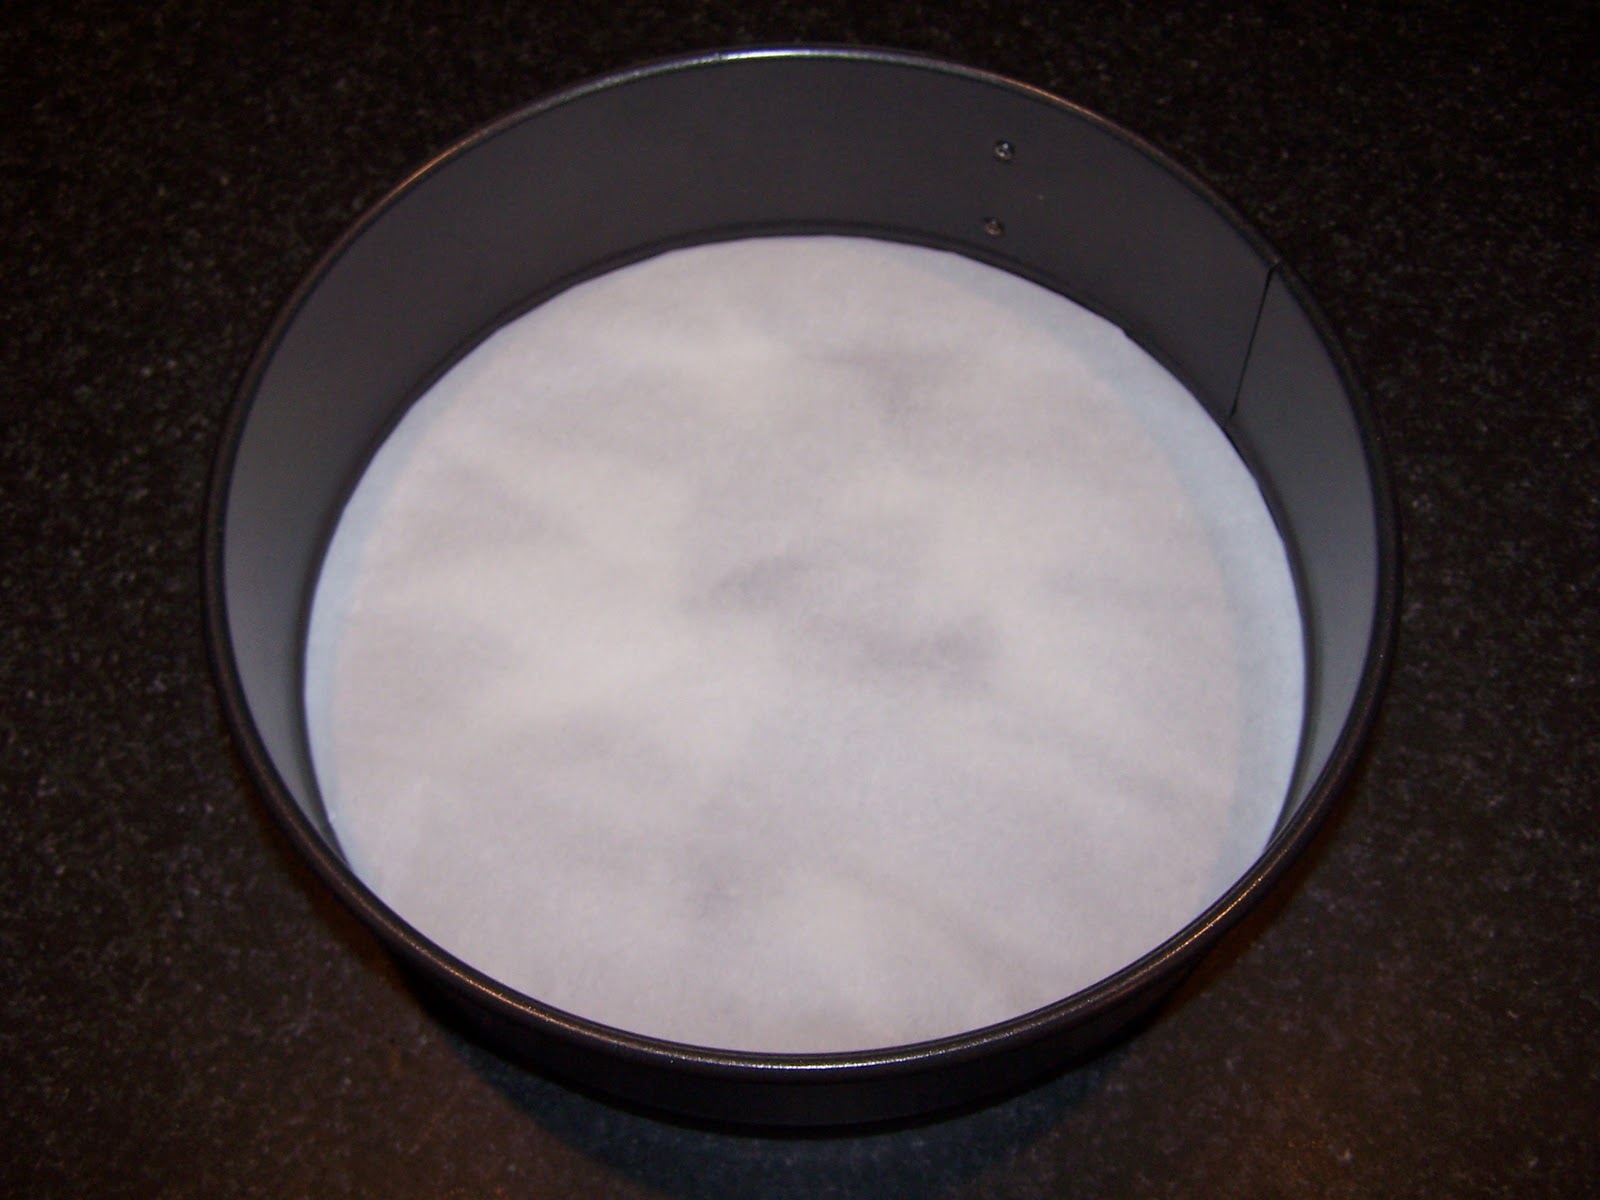
I started by lightly oiling, then dusting a 9x13 cake pan with a dust mixture that was one part cornstarch and one part  confectionery sugar. The final marshmallow is very sticky, or what I'm saying is this is a very important step if you want the marshmallows to be easy to work with.


I let the gelatin bloom in a 1/2 cup of water for a few minutes, before putting the bowl over simmering water and making it all dissolve together.


I mixed all the sugars and water together. I misjudged how much corn syrup I had and ended up using honey for the bulk of what was needed. The too are very similar and in most recipes they are interchangeable, however, in this case, it is a main ingredient, not a sweetener (ok, well its both). So its flavour may change the final product. I am waiting for the final product to see how it was changed.

I stirred the ingredients together and then brushed down the sides of the pot. In candy making, if sugar crystals form on the side of the pot and they are not washed away, they may act as a seed and cause everything to crystalize, ruining the candy. Of course, the solution is to just reheat it and do it over again. But that takes effort that could be easily avoided. I also stuck the candy thermometer in at this point.


The mixture at 215 degrees Fahrenheit.


And again at 225 degrees Fahrenheit.


The firm ball stage (one of many stages sugar goes through while cooking) is between 244 and 246 Fahrenheit, however, it can shift up depending on the local environment. Humidity plays a big role here. It is always a good idea to do a cold water test as well as use a thermometer. In my case, I actually had to go to almost 250 before I was in the firm ball stage. At this point I quickly took it off the element and set the bottom of the pan in cool water to stop the cooking process before it moved into another stage.


I started beating the gelatin and slowly added the sugar mixture in a slow and steady stream. There is no picture because I only have two hand and no tripod. However, this is a picture taken immediately after I finished adding the mixture. The colour is a combination of the cane sugar I used (I prefer the taste of cane vs refined white) and the cooking of the sugars (more so the cooking than the ingredients).


However, as more air is added to the marshmallow mixture, the whiter it becomes. As it cools, the gelatin sets, this causes the whole thing to become harder to beat and it also becomes notoriously sticky and hard to work with. I added two table spoons of Vanilla at this point and mixed it until blended together.


All of the mixture is then poured into the 9x13 cake pan.


With a little coaxing, it sits level across the entire pan


When the mixture is cooled, I will dust the top with more of the cornstarch/sugar mixture and cover it with foil. It will then be left until tomorrow morning, when I will cut it into squares using kitchen shears dusted with the same cornstarch/sugar mixture. As I mentioned above, I'll post pictures as soon as I can.

Thursday, September 23, 2010

Apple Juice

I've been really busy this last little while, so I apologize for not posting anything...at all.

However, during my absence I was able to process the apples from four different local trees, mostly into juice, but I have some left over for pies and other apple based dishes. I made a total of 8 liters of juice, and I was able to get an unmeasurable amount of apple pulp, which is similar to apple sauce, but not as juicy, though certainly as flavorful.

Alas, I poorly documented this one, so all I have to show for it this time is the canned jars I made.

I labeled each with the date and last name of the person whos tree the apples came from.


The first, second and fourth jars all had very similar apples that I couldn't identify. All of which produced a distinctively different color. The deep red one came from my parents crab apple tree, and arguably tastes the best. But I was raised on it, so I may be biased!


They are fully canned, meaning they are sealed and preserved, meaning they will keep a long time. However, conventional wisdom is to use it up before the first year is over, just to be sure. I store them with only the lids as a precaution, if one of the jars wasn't sealed properly or sanitized, or for whatever reason spoils, it will pop the lid off before the jar explodes. If I left the rim on it and it spoiled, I might have a big mess to clean up!

Friday, September 10, 2010

Frittata

 A very good friend of mine introduced me to this type of omlette. Despite my best efforts, he still makes it much better than I. The cast iron skillet really shines here for a number of reasons. The first is that it can go from stove top to broiler without any problems. Second, the extra mass of the cast iron retains much of the cooking heat from the stove top and helps to continue cooking the Frittata while it is cooking under the broiler.

This is an excellent breakfast dish, it can be prepared fairly quickly, but most importantly it is a great way to start the day. It is also a great communal meal, if you have a large enough skillet, you can make a bigger one that will feed multiple people. I look forward to this on weekends, when I can sit and share a breakfast with some close friends.

Beat the eggs and milk together. I find 1/8 cup of milk per egg is a good ratio. It was originally recommended by Alton Brown on his show Good Eats. Since then, I have experimented with the ratio and have come to the same conclusion. The ratio holds for omlettes, french toast and other egg/milk only mixtures. I have found that two eggs is almost too much for one person, so feel free to change it up to the number you prefer.


Into the egg/milk mixture goes whatever you want. I'm partial to bell peppers and onions, but mushrooms, broccolli and many other vegetables can find there way into a Frittata. Place the mixture into the preheated cast iron skillet.


Once the Frittata has had some time to cook but the center is still liquid, remove it from the stove top and put it under the broiler until the egg mixture has firmed up and is just cooked.


Sprinkle the cheese on top, for looks, you can also optionally sprinkle it with Paprika. This will give it a really nice colour when it is finished.


Place the skillet back under the broiler until the cheese "breathes". Breathing cheese is a term I use for when the cheese is starting to brown and it is bubbling all over. The cheese will bubble up and then settle down before bubbling up again; hence "breathing.


Frittata
1 Serving
Preheat a skillet over medium heat, preheat a broiler.
Thoroughly mix in a bowl:
2 eggs
1/4 cup milk
Add:
1/2 cup of assorted vegetables
Add the mixture to the preheated skillet. Let it cook until the outsides are becoming firm. Move the skillet to the preheated broiler, continue cooking until the entirety of the Frittata is firm. Sprinkle on top:
Up to 1/3 cup mozzarella cheese
Place back under the broiler until the cheese is browned. Remove from the heat and serve.

The cost of this meal is $2.00 per Frittata, the toast and yogurt are extra, but if you include them, the price rises to $2.56.

Tuesday, September 7, 2010

Roasted Red Pepper Hummus

A friend of a friend, both of which are friends of mine, requested this for her birthday party. It is the first flavoured Hummus that I have ever made, and I learned a whole bunch about how added flavours interact with the base taste. Namely, I need to add more if I want it to have a distinct flavour!

For those of you who don't know, Hummus has a few different uses. It can be used as a sauce, a spread, and a dip. I've seen it used quite successfully on a vege-burger, though I personally prefer to eat it with assorted crackers.

Depending on what you are using as your base (Garbanzo beans or Chickpeas, dried or canned) you may need to take a few extra steps. I used dried Chickpeas and as such I had to boil them until soft (about 1-2 hours)


The water the Chickpeas were boiled in is saved and used to thin the Hummus when everything is blended together.


While I was letting the Chickpeas cool a little, I roasted some red peppers and coarsely chopped them. In retrospect, I shouldn't have chopped them as the next step was to blend everything in a blender. I could have roasted the pepper and then just tossed it in. It was an unnecessary step that I apologize for.


Blend the Chickpeas, Peppers, and all the other ingredients (Garlic, tahini, lemon juice and cumin). Once pureed, move to a storage or serving container and sprinkle with Paprika. Paprika is typically made from dried and powered red peppers so aside from making it look nice it will also add flavour.


Hummus
About 2 cups
You may substitute one 16-ounce can chickpeas, rinsed and drained. Use water to thin the puree as necessary.
Pick over, rinse and simmer:
3/4 cup dried chickpeas
Drain and place in a pan with water to cover by 5 cm. Bring to a boil, reduce the heat, and simmer until very tender, about 1 1/2 hours. Drain, reserving the cooking liquid. Transfer the chickpeas to a food processor or blender and add:
1/3 cup fresh lemon juice
3 tablespoons tahini (sesame paste)
2 garlic cloves, finely minced
(1/2 teaspoon ground cumin)
salt
Puree until smooth, adding 2 to 3 tablespoons of the cooking liquid as needed to obtain a soft, creamy consistency. transfer to a shallow serving bowl and garnish with:
1 tablespoon olive oil
1 tablespoon finely chopped parsley
Sprinkling of hot or sweet paprika

Unfortunately I don't have a recorded cost for most of the ingredients that I used, so I can't give a cost associated with the final dish. I apologize and I'll keep an eye out for prices so that I can update this post in the future.

However, I do know the ingredients and I have access to Wolfram Alpha, so I can provide the nutritional information. I made the wild assumption that a single serving would be 15 mL or an ample amount to spread on a single cracker.

Thursday, September 2, 2010

Ice Cream Cake

There is something about an ice cream cake that makes me think of birthdays. Maybe its because almost everyone I know celebrates with one, but maybe its just me. Either way, this isn't the first request I've had for an ice cream cake, and I doubt it will be the last.

My sister requested an Ice cream cake for her birthday, she said it had to have a crumb crust, vanilla ice cream and a berry filling. It sounded easy enough, except that I had never done a berry filling in a frozen cake before. I was afraid that I would end up with a solid block of frozen berries that would be hard to eat. I did some experimentation to overcome this, I knew berries by themselves would be as hard as a brick, I also assumed if I used alcohol it would loosen it up at freezing temperatures. I however wasn't sure if sugar would work, so I tossed a half jar of Strawberry Jam into the freezer over night and tested it in the morning. As I hoped, it was thickened, but not solid, perfect for my needs. This meant there was nothing else to do but make the cake itself.

This being a frozen cake, it meant that it took a couple of days too make. Most of the time being spent in the freezer, the actual effort was quite small

The crumb crust is a fairly simple recipe in its own right, consisting mostly of Graham Crumbs held together with butter. Sugar was added to sweeten and Cinnamon to flavour it.


I mixed the ingredients into a coarse mixture.


In the past I have found crumb crusts stick very easily to the bottom of my pan. Some people like to grease their pans or dust with a powder (usually powdered sugar or flour) before cooking. Since this is a desert that is high in oils, I opted instead to just put a parchment paper layer down in the bottom of my spring form pan.


I packed the crust down using a spatula to that it would be of even thickness and consistency.


I baked it for 20 minutes, let it cool and then froze it. It is an important step, because you don't want to melt the ice cream when you add it.


I added the Strawberry Jam layer next and smoothed it out so that it would be a consistent thickness. The whole thing went back into the freezer.


I mixed some cream and sugar and brought it just to a simmer before removing from the heat.


Once it came to a simmer, I removed it to a bowl and added some more cream, milk and some Vanilla extract. I had been planning on using a Vanilla Bean instead, but I was apparently out. The resulting mixture was chilled in the refrigerator over night.


I removed the mixture the next day and started it churning in my Ice Cream maker. I ended up with a particularly good consistency this time. I usually have to chill it further once it is done churning to get a scoopable mixture. However, this was ideal for the cake as it was.


I smoothed out the ice cream using a rubber spatula. There was not going to be any icing to make it look pretty, so I quickly leveled it by scraping to the center; this gave it the pleasing spiral look. I had to work fast so that the ice cream wouldn't melt. Once I was done it went straight back into the freezer until I was ready to serve it.


Crumb Crust
One 9- or 10-inch single piecrust and topping
Put in a bowl, reserving a tablespoon or two for topping, if desired:
1 1/2 cups fine graham cracker, vanilla or chocolate wafer, or gingersnap crumbs
Add and stir until well blended:
1/4 to 1/2 cup sugar, depending on sweetness of cookies
6 tablespoons (3/4 stick) unsalted butter, melted and cooled

(1 teaspoon ground cinnamon)
Bake for 10-12 minutes at 350 for a baked crust

Strawberry Jam
1 cup jam

Vanilla Ice Cream
1 quart
Combine in a medium saucepan
1 Cup heavy cream
3/4 cup sugar
1/8 teaspoon salt
Split lengthwise in half:
(1 vanilla bean)
 Scrape the seeds into the cream mixture, then add the bean. Bring to a simmer over medium-low heat, stirring to dissolve the sugar. Pour into a bowl and stir in:
2 Cups heavy cream
1 cup whole milk
1 1/2 to 2 teaspoons vanilla (if not using vanilla bean)
Refrigerate until cold, overnight if possible. Remove the vanilla bean, if used, pour the mixture into an ice cream maker and freeze as directed.

In addition to the cost analysis that I usually do, I also did a nutritional analysis using Wolfram Alpha. I summed the bulk of the ingredients and divided by eight servings. It then generated this nutrition label and other useful information. I was surprised at the results, but considering the ingredients, I am inclined to believe the numbers.

The total cost of the cake was $4.48, I worked it out to a total of eight serving at $0.56 per piece of cake.